

Having founded London-based stationary and design studio BerinMade at the age of 25, Erin Hung has made a career out of sharing her imaginative DIY creations with the world. To help with your own Christmas decorating, Erin has shared a fun and easy tutorial on making paper poinsettias with a certain functional twist.
Now that the festive season is firmly upon us, I’m always looking for fun ways I can incorporate Christmassy decor around the house that feel fresh and personal – and most importantly won’t break the bank!
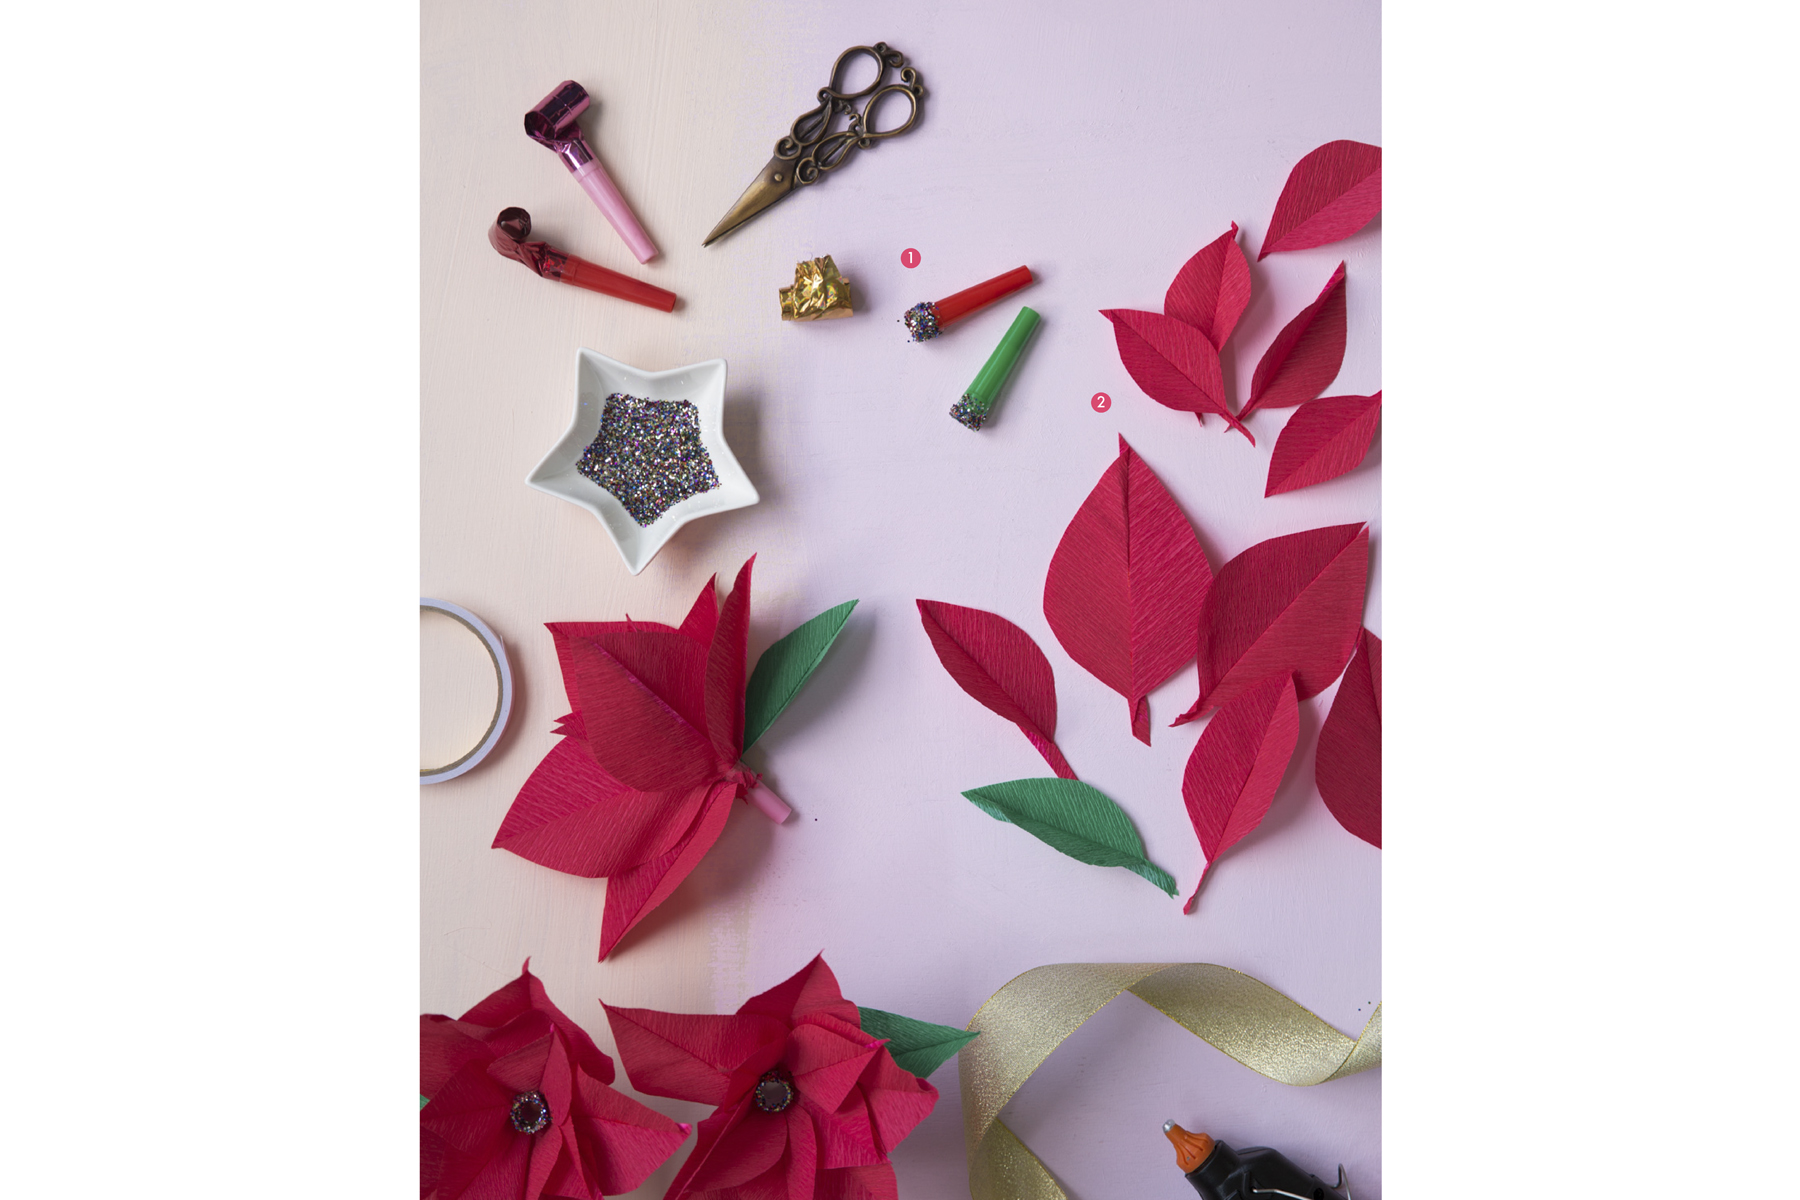
If you’re a flower-lover like me, these Poinsettia Noisemakers set just the mood! Made with just a good old-fashioned noisemaker, some glitter and red crêpe paper, all you need to bring are your crafty hands and holiday cheer. For maximum impact, place a handful as a centrepiece for any holiday gathering and they will sure pack a punch when your guests find out they double as a fun prop for the festivities.
What you’ll need per flower:
Materials:
- Noisemaker
- Glitter (any colour)
- 5 small red crêpe paper squares 7cm sq
- 5 large red crêpe paper squares 10cm sq
- 1 green crêpe paper square 8cm sq
- 2-inch gold ribbon
- Petal templates (download, or draw your own)
Tools:
- Double-sided tape
- PVA glue
- Scissors
- Hot glue gun
Step 1
Remove the foil on the noisemakers and peel away any excess tape or sticky bits on the whistle. Dip the whistle into PVA glue about 2-3cm deep, and then immediately dip into some glitter. Let dry standing glitter-side up. Repeat this for as many noisemakers as flowers you plan to make.
Step 2
While the glitter dries, prepare your petals. Each flower requires 5 small petals, 5 big petals, and 1 green leaf, which are all prepared in the same way. Cut out the number of squares needed for the number of flowers you plan to make.
Step 3
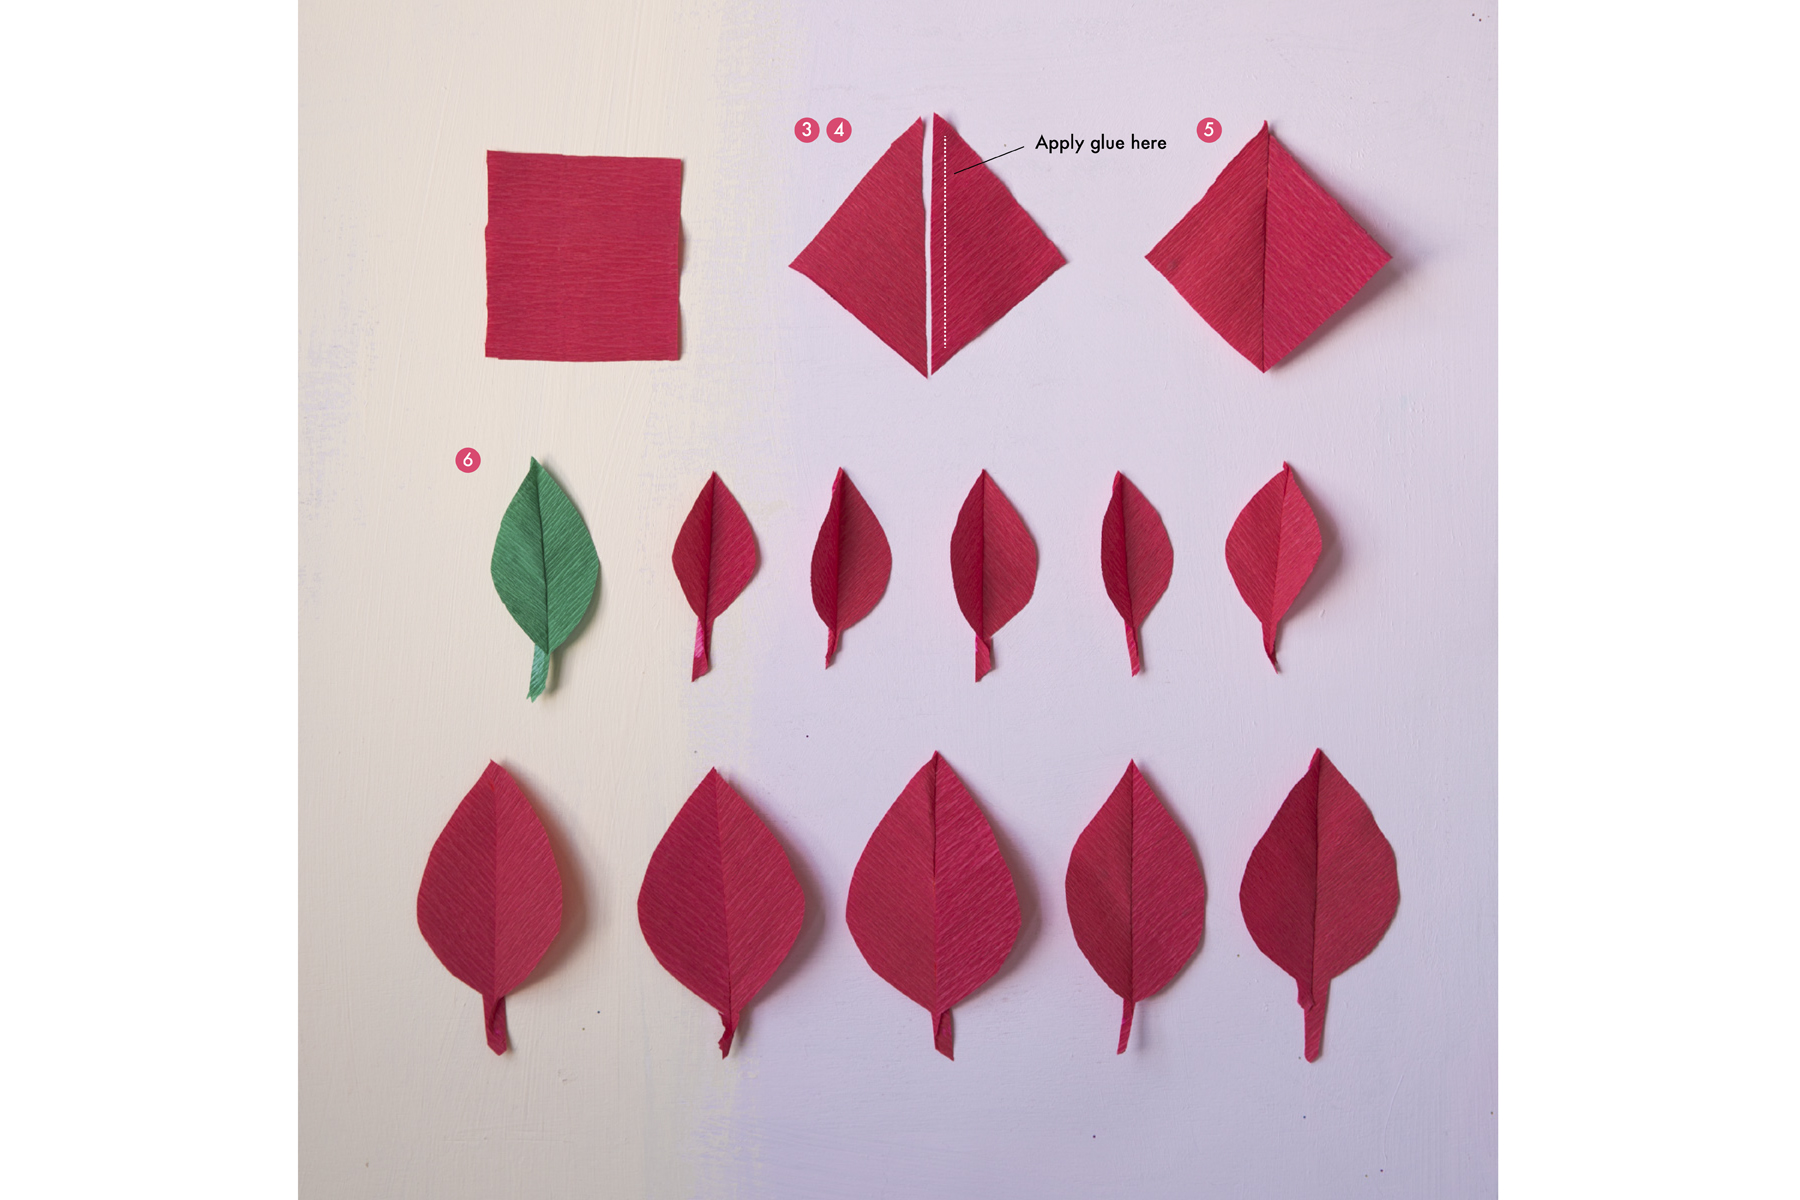
Starting with a small red square of crepe paper, turn it 45 degrees and cut diagonally across making two triangles. Flip one triangle upside down, so that the crepe paper lines run opposing in a V-pattern.
Step 4
Apply a thin line of PVA glue along the centre-side of one of the triangles (as illustrated), and fold the other over it like making a sandwich. Repeat with all the other squares while you wait for them to dry.
Step 5
Open up each square carefully to check they are completely dry. Fold along the seam to open up the square.
Step 6
Taking your printed template, line up the seam lines to cut out the shape of the petal. Repeat this for all the petals.
Step 7
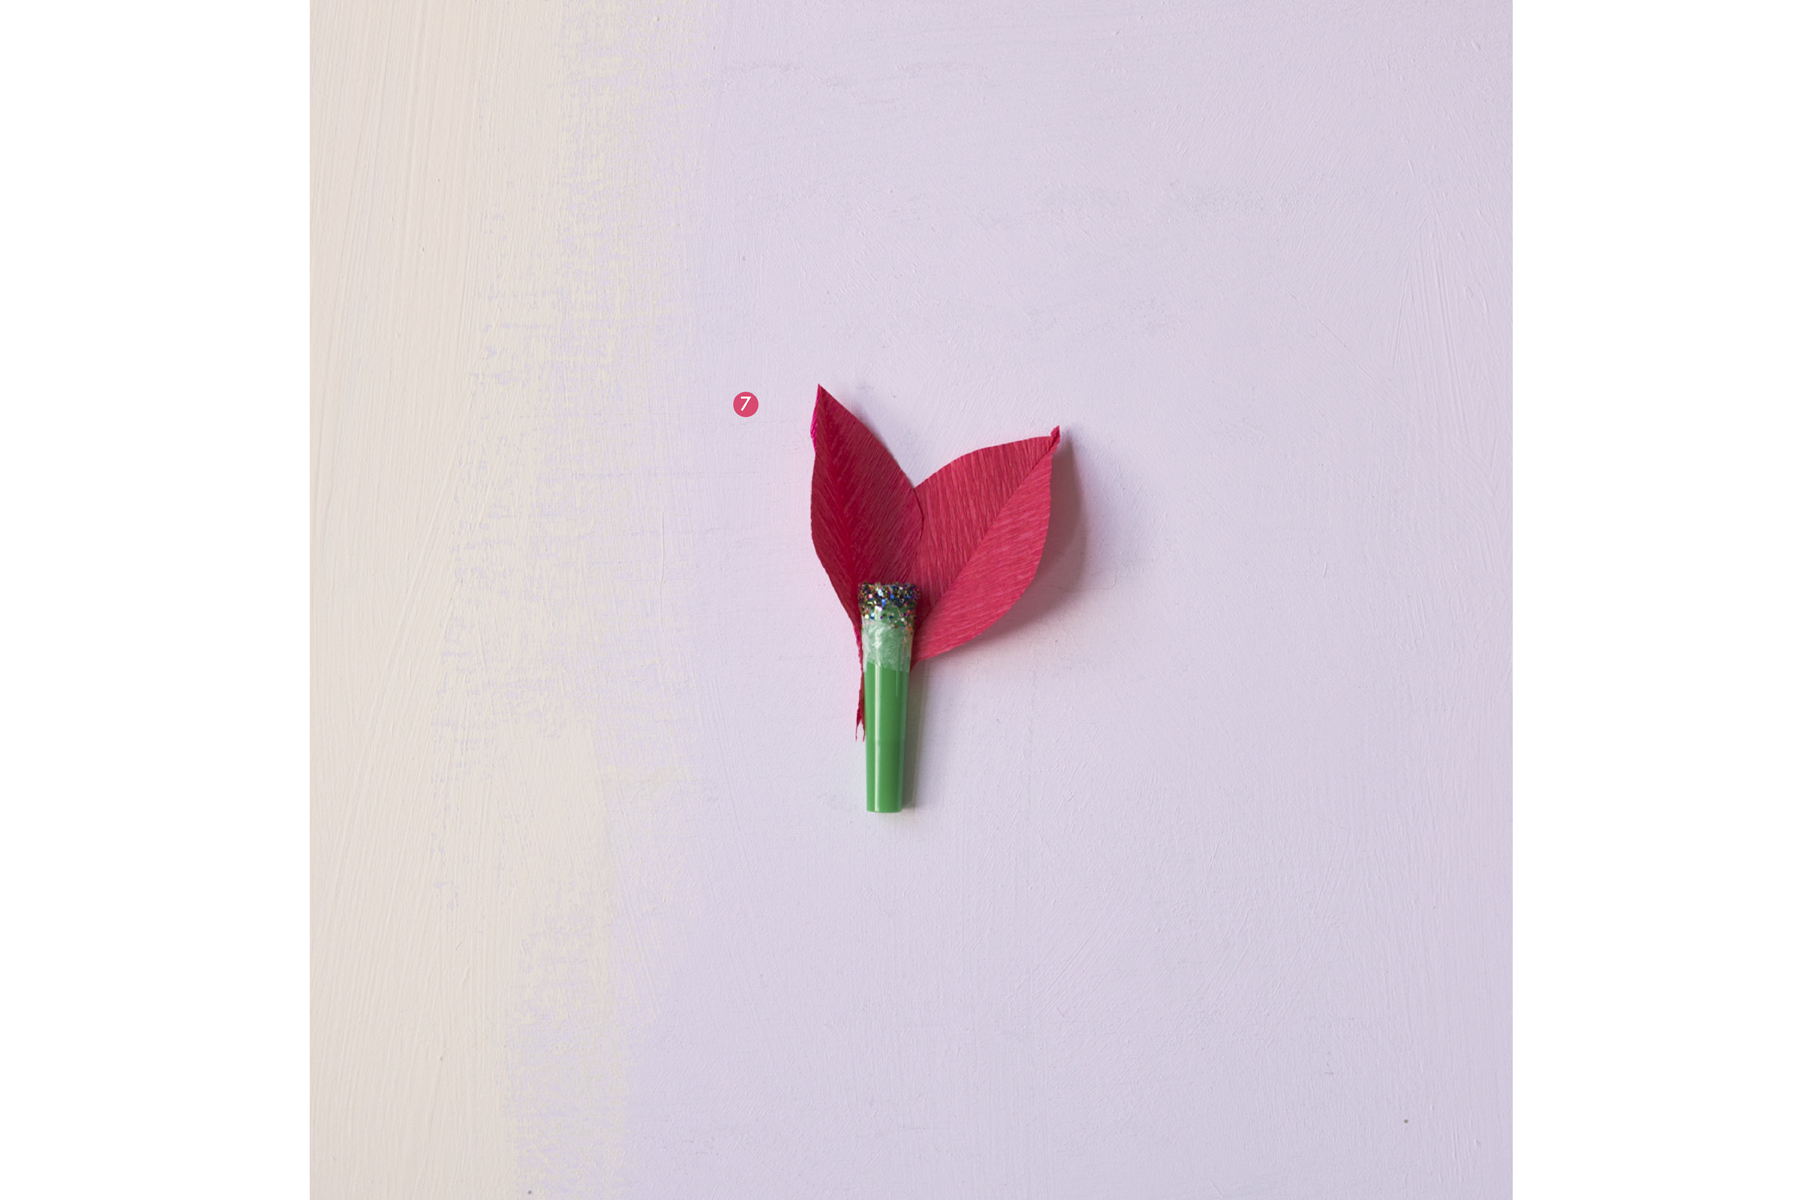
Check that the glitter-topped whistles are also completely dry. Running a length of double-sided tape around just beneath the glitter edge, begin to attach the 5 small petals around the whistle. Once completed, run another length of double-sided tape on top of the small petals (still in the same spot) and attach 5 large petals and the green leaf. The goal is to attach all the petals as evenly around the whistle as possible.
Step 8
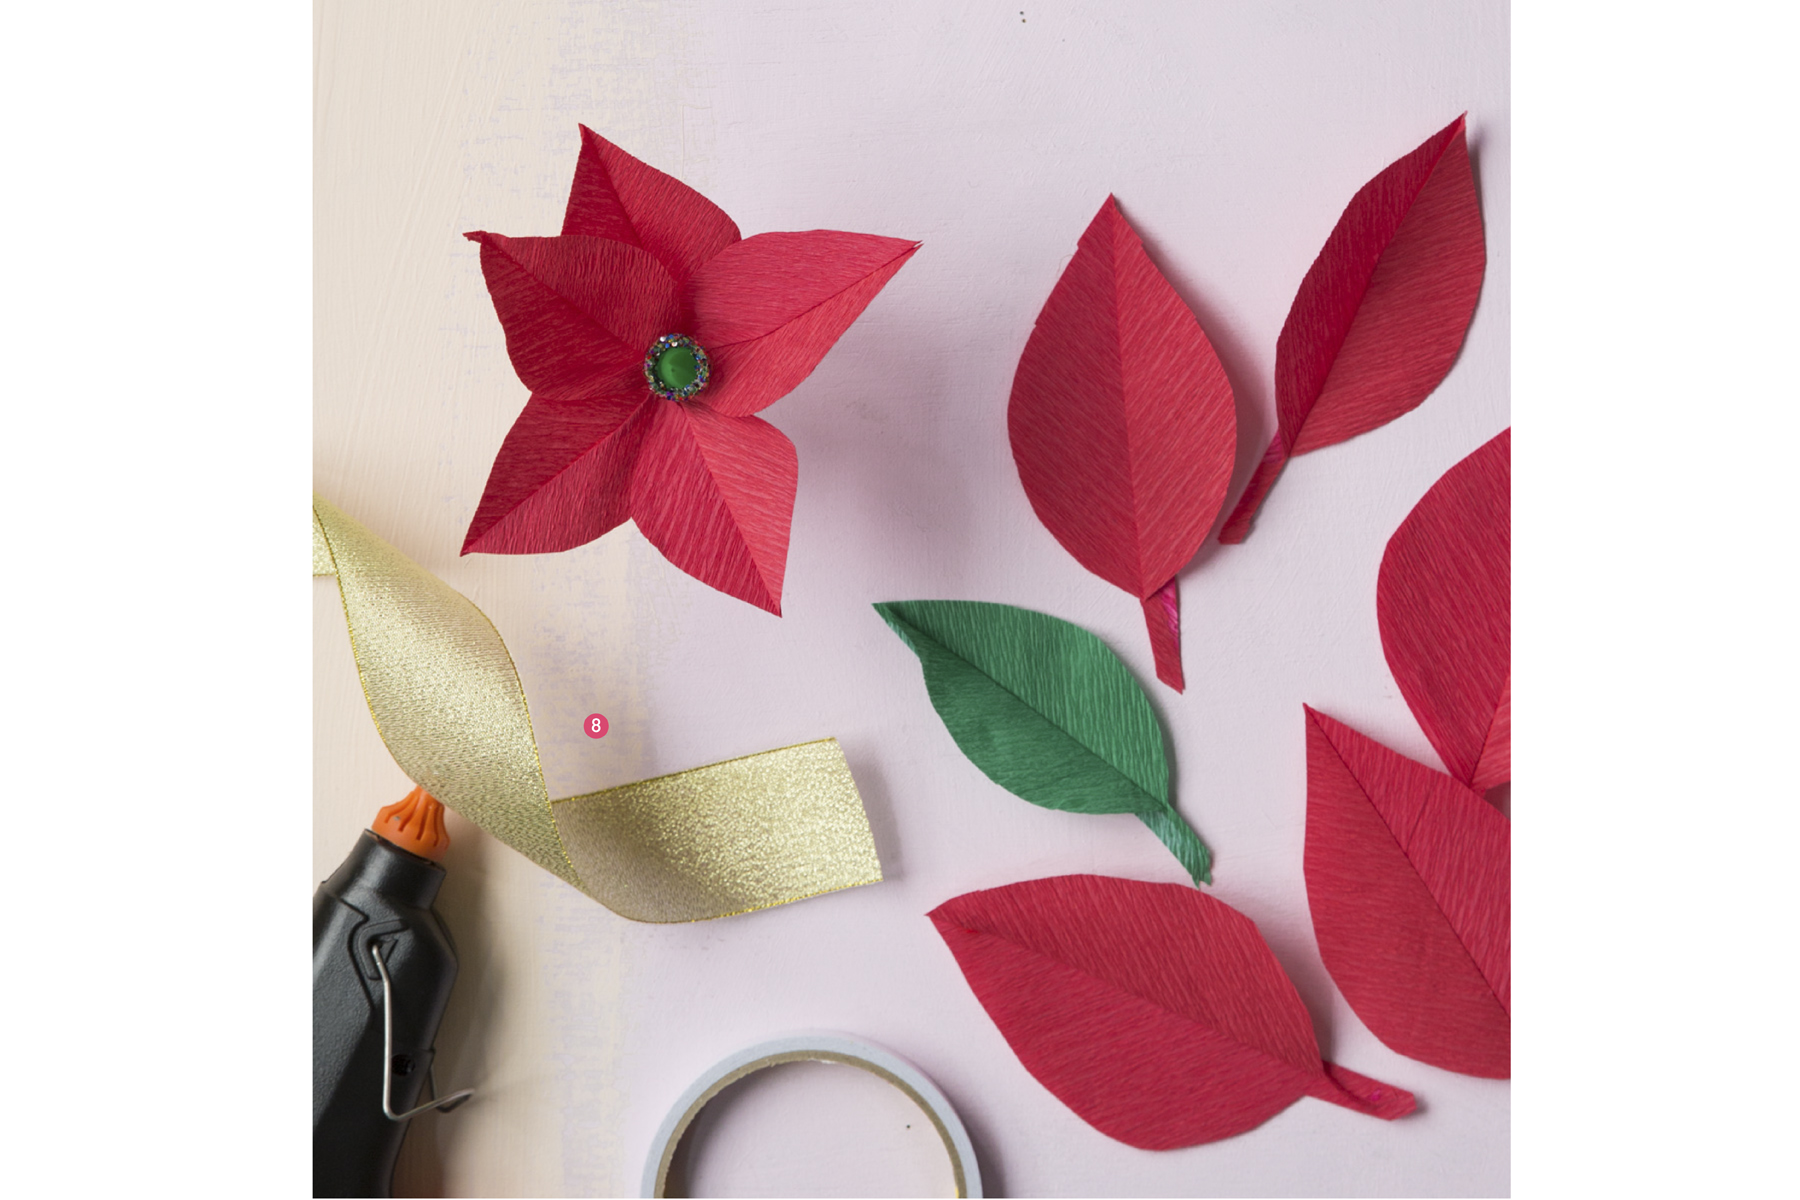
To hide the messy petal stems, cut a short length of gold ribbon approximately 5cm long and secure with hot glue. Let dry.
The post A Christmas poinsettia tutorial by BerinMade’s Erin Hung appeared first on Home Journal.